DF-IP Web Version User Guide
This tutorial introduces the complete DF-IP web version workflow, from registration and login, account top-up, to creating and copying dynamic residential IP and static residential IP proxy information. It is suitable for users using proxy IPs for the first time.
This tutorial will guide you through a complete DF-IP usage process. Even if this is your first time using proxy IPs, you can successfully get started within 3 minutes.
1. What You Need Before Getting Started
- A registered DF-IP account
- A browser (Chrome / Edge / Firefox are all supported)
2. Register and Log In to Your Account
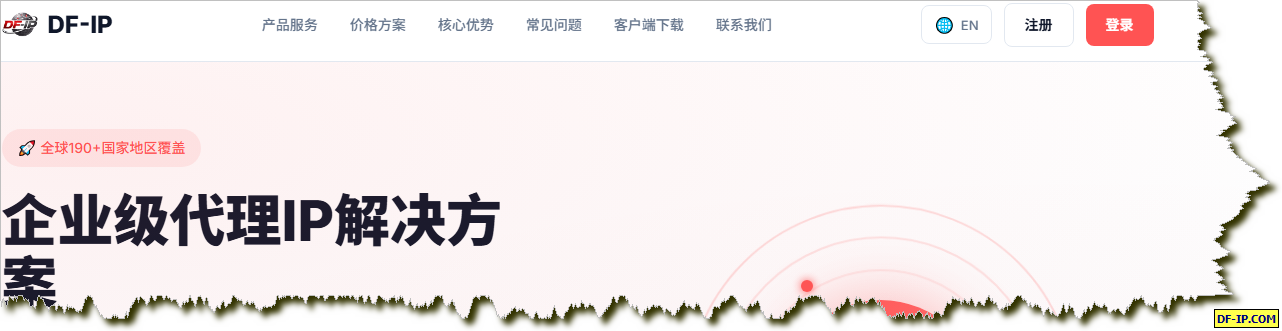
- Open the DF-IP official website: www.df-ip.com
- Click the "Register" button in the upper-right corner of the homepage.
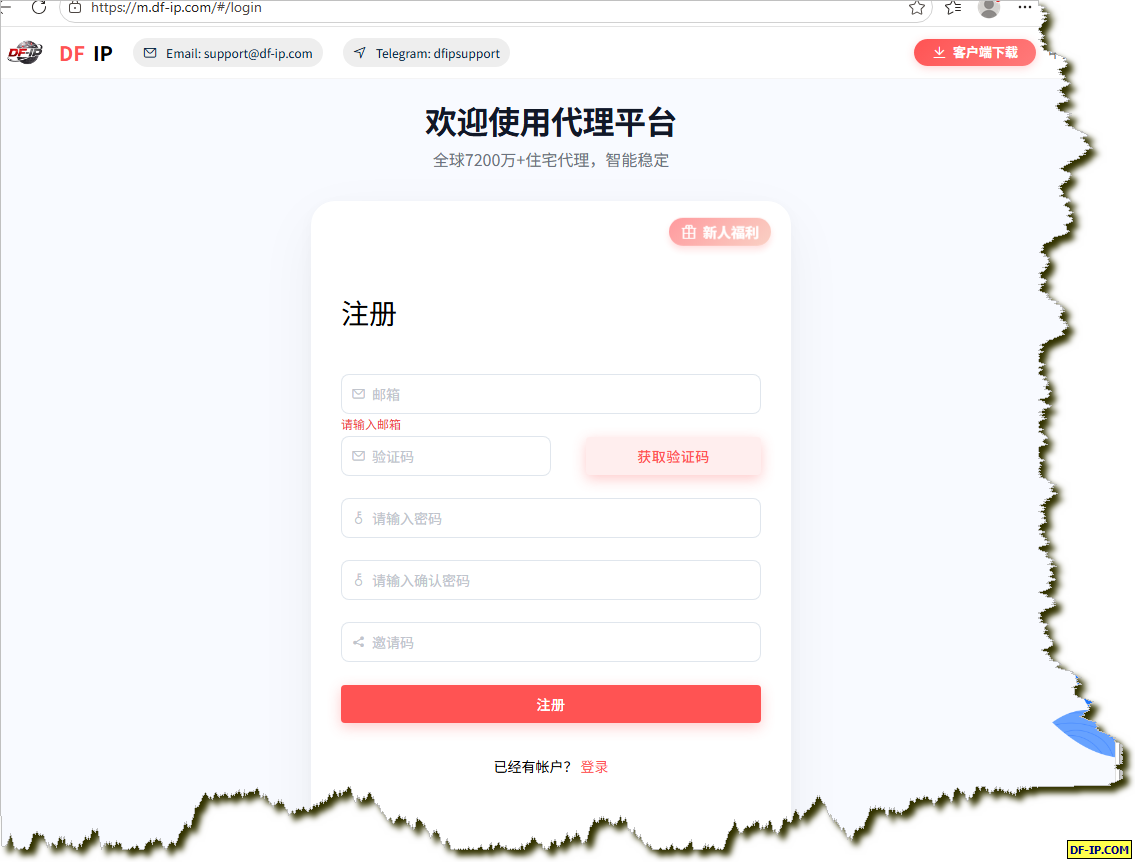
- Fill in the information as prompted to complete account registration. (If you do not have an invitation code, you can leave it blank for now.)
- After registration is complete, log in to the dashboard with your account and password.
3. Top-Up Benefits and Account Balance
🎁 Users can enjoy bonus credit for account top-ups.
After entering the [Dashboard]:
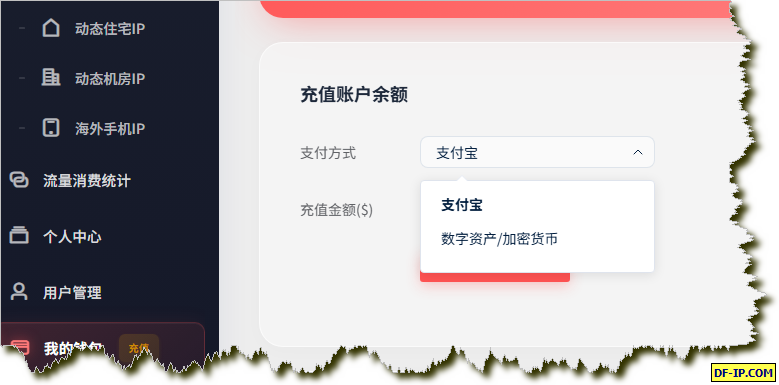
- Click [My Wallet] in the lower-left corner. After entering, you can view your current account balance and top-up entrance.
- Select a payment method. Alipay and cryptocurrency payments are supported.
- Select a top-up amount from the top-up amount drop-down menu. The minimum is $20 and the maximum is $10000. If you need to top up a larger amount, please contact customer support @dfipsupport.
- After confirming that the payment method and top-up amount are correct, click Pay. The system will automatically redirect you to the corresponding payment page.
Please keep an eye on your account balance during use to avoid service interruption due to insufficient balance.
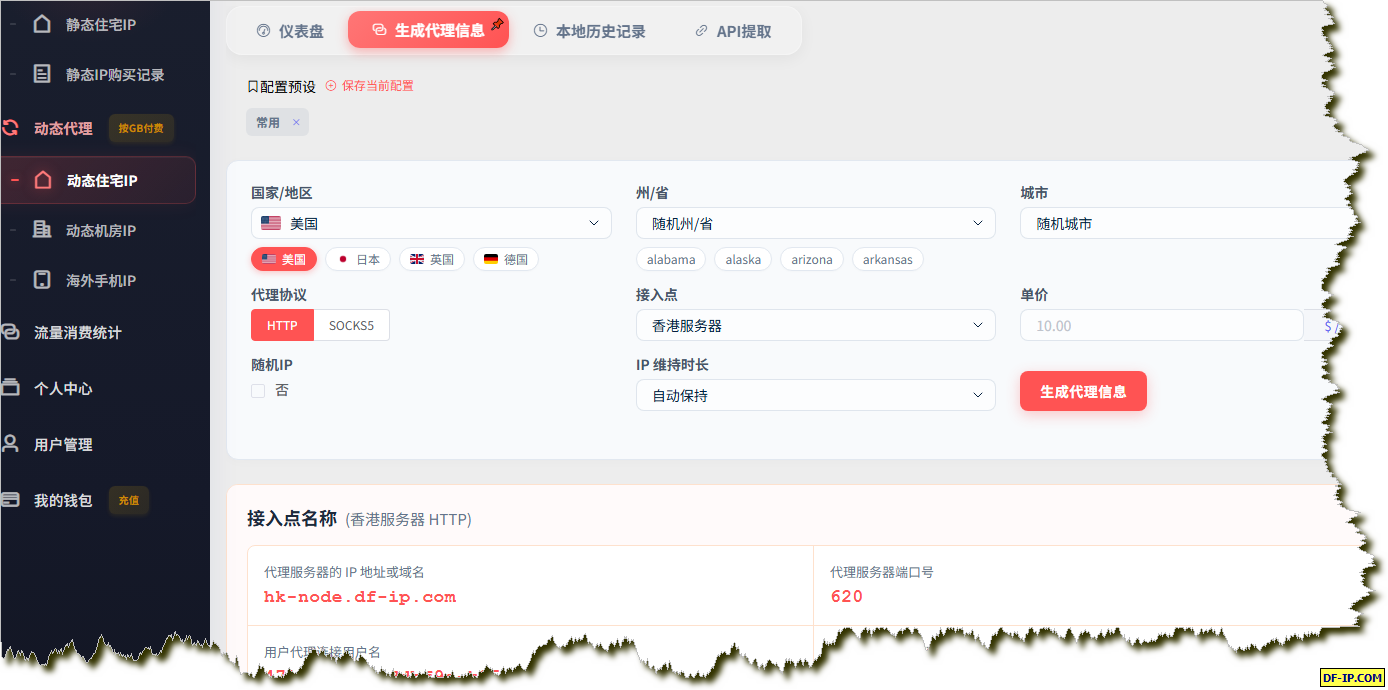
4. Create and Use Dynamic Residential IPs
- Enter the [Dashboard].
- Select [Dynamic Residential IP].
- Select a country / city.
- Select the proxy protocol.
- Click [Generate Proxy Information].
- Copy the proxy address on the right to use it.
5. Create and Use Static Residential IPs
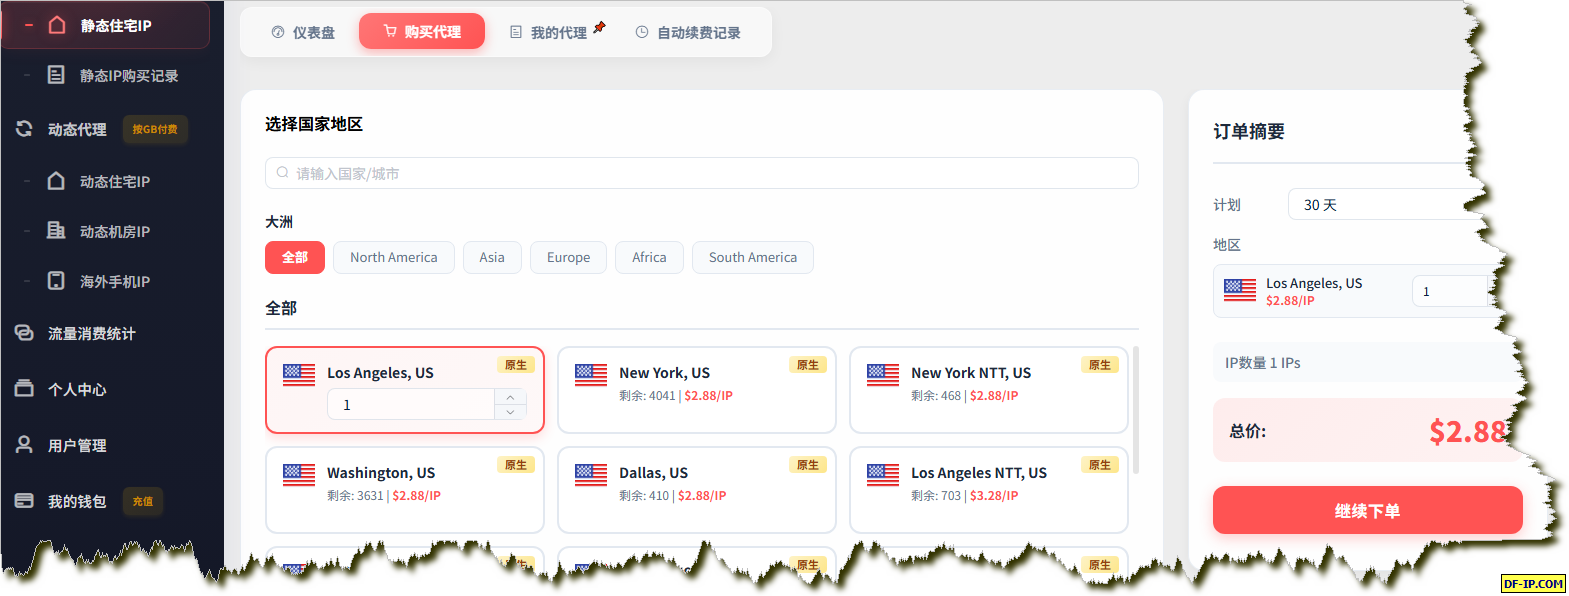
- Enter the [Dashboard].
- Select [Static Residential IP].
- Select [Buy Proxy].
- Select the number of proxy IPs to purchase for the relevant country or region, for example, 1.
- Click [Continue Order] to complete the purchase.
- Select the [My Proxies] tab to view the purchased static residential proxy IPs.
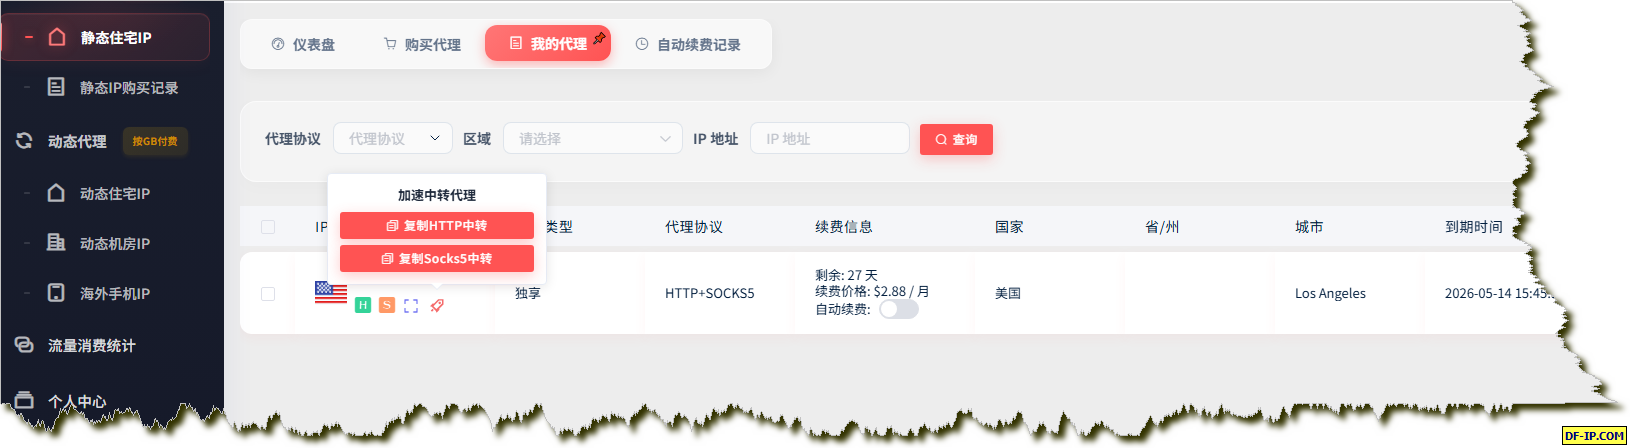
Click the icon below the selected IP to copy the proxy details:
- HTTP
- SOCKS5
- QR code
- Accelerated relay proxy
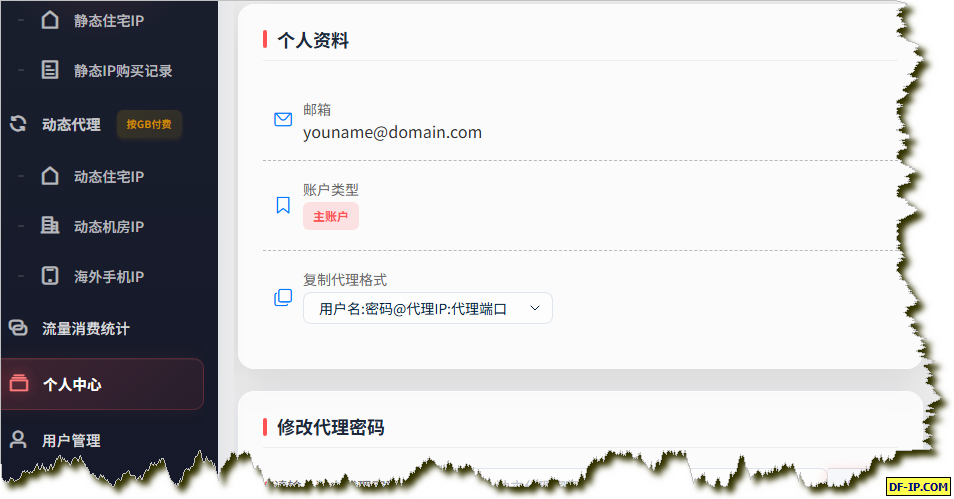
If you have requirements for the copied proxy format, you can go to [Personal Center] to modify the copy proxy format option.